
How to Create a Self-Hosted Chat Widget with Chatwoot
In today’s digital age, providing timely customer support is crucial for any business. Chat widgets on websites allow businesses to interact with visitors in real-time, offering instant assistance and improving overall customer experience. Chatwoot, an open-source customer engagement suite, offers a powerful platform for building a self-hosted chat widget. In this blog post, we’ll walk you through the steps to create and integrate a self-hosted chat widget using Chatwoot.
What is Chatwoot?
Chatwoot is an open-source customer engagement suite built as an alternative to Intercom, Zendesk & Salesforce Service Cloud. Chatwoot is designed not only for a great customer experience but also to improve your support team’s productivity and provide them with actionable data.
You can integrate your Chatwoot account with multiple conversation channels like website live-chat, email, Facebook page, Twitter handle, WhatsApp, etc. You can view all of your conversations from different channels on one dashboard. This helps in reducing the time and friction involved with switching between multiple tools.
You can manage your conversations and collaborate with your team on the go with Chatwoot mobile apps (available for Android and iOS).
In this user guide, we’ve explained the features, capabilities, modes of operation, and step-by-step procedures for easily using the Chatwoot platform.
Benefits of Self-Hosting Your Chat Widget
By self-hosting your chat widget with Chatwoot, you gain several advantages:
- Data Ownership: Keep your customer interactions private and secure within your infrastructure.
- Customization: Tailor the chat widget to match your brand and specific workflow requirements.
- Cost-Effectiveness: Avoid the recurring costs associated with third-party hosted solutions.
- Community Support: Leverage the support and innovations from the open-source community.
Self-hosted installation guide
This guide will help you to install and setup a production ready Chatwoot.
Visit the official Chatwoot self-hosted installation guide.
Configuring Your Chat Widget
After successfully installing Chatwoot on your server, the next step is to configure your chat widget:
- Access the Chatwoot Dashboard: Open your web browser and navigate to your Chatwoot instance using the domain you set up.
- Create Your Account: Sign up to create a new Chatwoot account.
- Create an Inbox: Configure an inbox for your website where you will receive and manage customer messages.
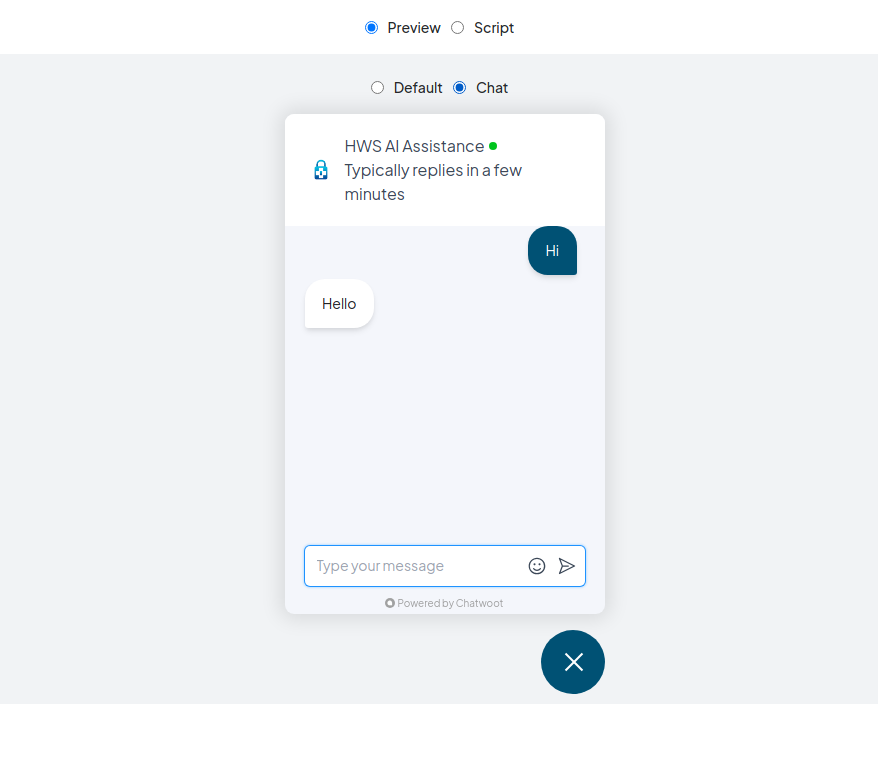
- Customize Your Widget: Tailor the chat widget’s appearance, behavior, and settings to align with your brand.
Integrating the Chat Widget on Your Website
Once your chat widget is configured:
- Retrieve the Widget Code: Chatwoot provides a snippet of JavaScript code for your widget.
- Embed the Code: Paste the widget code into your website’s HTML template before the closing
</body>tag. - Verify the Integration: Load your website to confirm that the Chatwoot widget appears and functions correctly.
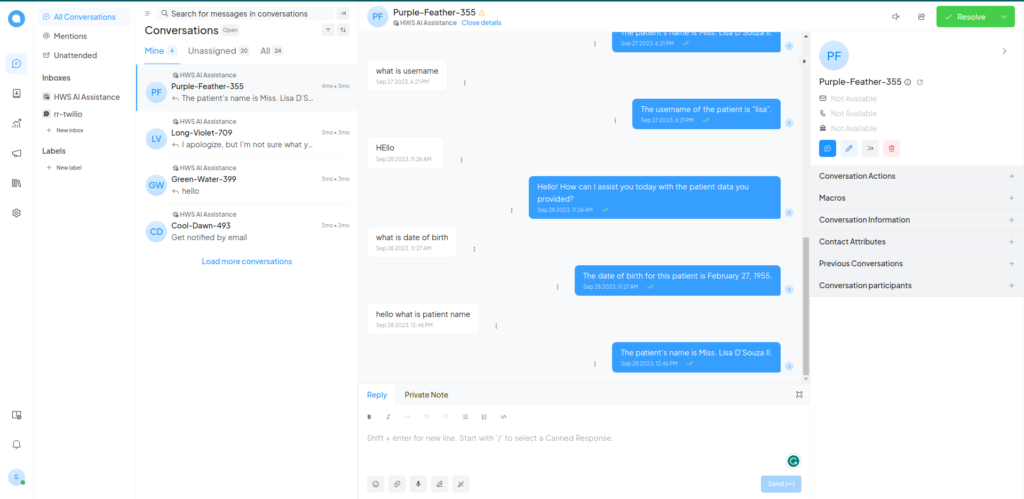
Managing Conversations and Leveraging Features
With Chatwoot operational, you can:
- Respond to Queries: Use the dashboard to interact with customers in real-time.
- Automate with Bots: Set up automated responses for common questions.
- Integrate with Other Tools: Connect Chatwoot with other services via APIs or marketplace apps.
Sample: https://botpress.bharatguruji.com/chatwoot.html
Conclusion
Installing a self-hosted Chatwoot chat widget empowers you with a versatile tool to elevate your customer support. By following this guide, you can take advantage of an open-source solution that’s both powerful and customizable. Embrace Chatwoot and transform the way you engage with your audience!
For comprehensive installation steps and troubleshooting, ensure to consult the Chatwoot self-hosted documentation. Join the Chatwoot community to exchange ideas and get support from fellow users and contributors.